

Butterfly Doodles
Here is your pattern pdf:
Butterfly Doodles pdf – Includes: Instructions, supply list photo and full scan to use for linework.
The lessons are divided into smaller segments so you can easily find topics. I recommend that you watch the lessons in numerical order so you can see the project from start to finish. Of course, you can always go back and watch them over as many times as you need to in order to grasp the skill being demonstrated. The time it will take to watch each video varies from lesson to lesson, and is shown in parenthesis () after each video link.
It is recommended that you let the video load completely in the browser window before you attempt to play it. Be patient, this may take a few minutes. It will depend on the speed of your computer and the speed of your internet connection.
NOTE: To view each video, click on the links below. The video will open in a new window. Close the window to return to this page.
Video 1: Project Overview, Background, Base Shapes(4:26)
Video 2: Dry Brush Base, Divide the Shape, Applying Washes (7:54)
Video 3: Shade the Sections (6:23)
Video 4: Lining the Image, Repetitive Pattern(7:08)

Continue to add detail on the body and wings.
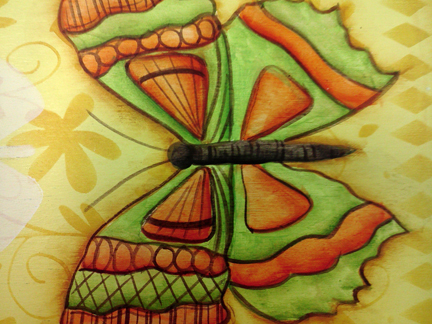
Use circle, arches and curved lines as desired. It is good to have a mix of line types and combinations.

Continue to add detail. Don’t forget that you can use flats as well as liners to create lines.
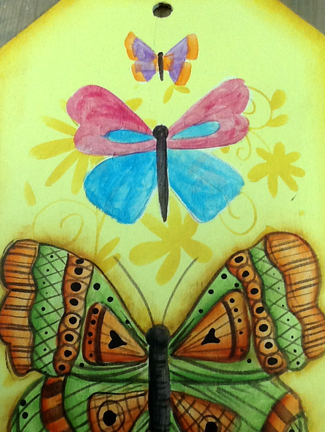
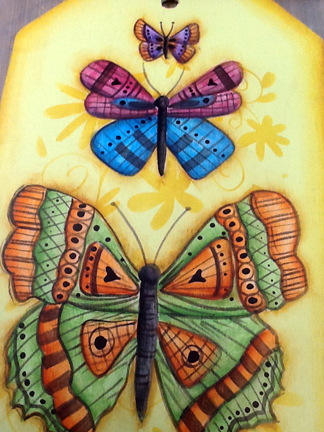
Once you have detail in the larger butterfly, start adding washes to the other butterflies.
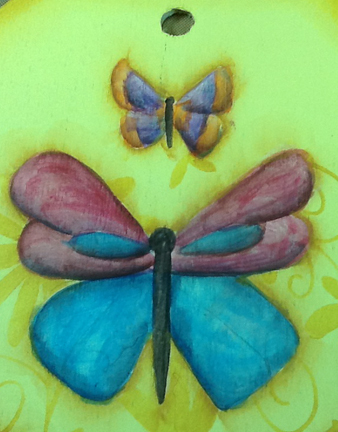
Shade the shapes.
Continue to add lines and dots in sections of the butterfly.
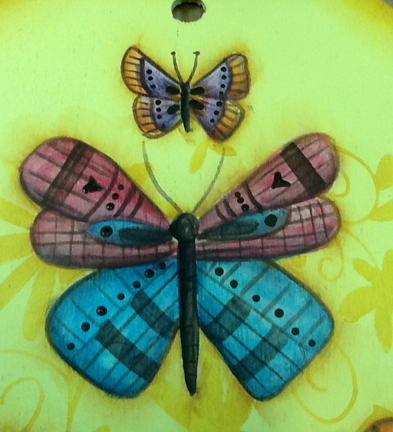
Shade around the butterflies and finish adding details.

Add texture by dry brushing paint through texture mesh.
Finish the piece and add additional linework with a pen if desired. You can add a ribbon for good measure too.
Try this technique with all kinds of shapes. Look at all the basecoat stencils available and think how repetitive pattern could be used to decorate them.
Question of the Day:
What shape would you like to try doing this method?
