
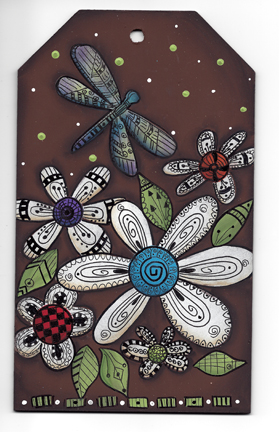
Daisy Doodle Tag
Here is your pattern/pdf:
Daisy doodles pdf – Includes: Photo, Instructions, Supply List. Use the full size photo to get any linework off of.
The lessons are divided into smaller segments so you can easily find topics. I recommend that you watch the lessons in numerical order so you can see the project from start to finish. Of course, you can always go back and watch them over as many times as you need to in order to grasp the skill being demonstrated. The time it will take to watch each video varies from lesson to lesson, and is shown in parenthesis () after each video link.
It is recommended that you let the video load completely in the browser window before you attempt to play it. Be patient, this may take a few minutes. It will depend on the speed of your computer and the speed of your internet connection.
NOTE: To view each video, click on the links below. The video will open in a new window. Close the window to return to this page.
Video 1:Using Stencils to Base, Flowers, Dragonfly, Flower Centers (3:27)
Video 2: Color on the Dragonfly, Shading (5:03)
Video 3: Outline Objects, Inner Detail on Centers and Petals(5:32)
Video 4: Add Shading and Stronger Outline, Example of Inner Details (2:05)

Begin to start to fill in centers of the flowers

Vary the size of brush or pen to add more interest.
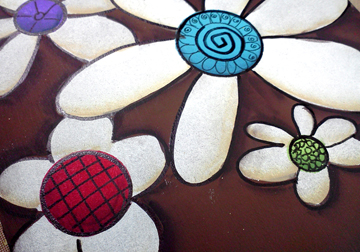
Try different designs in centers.
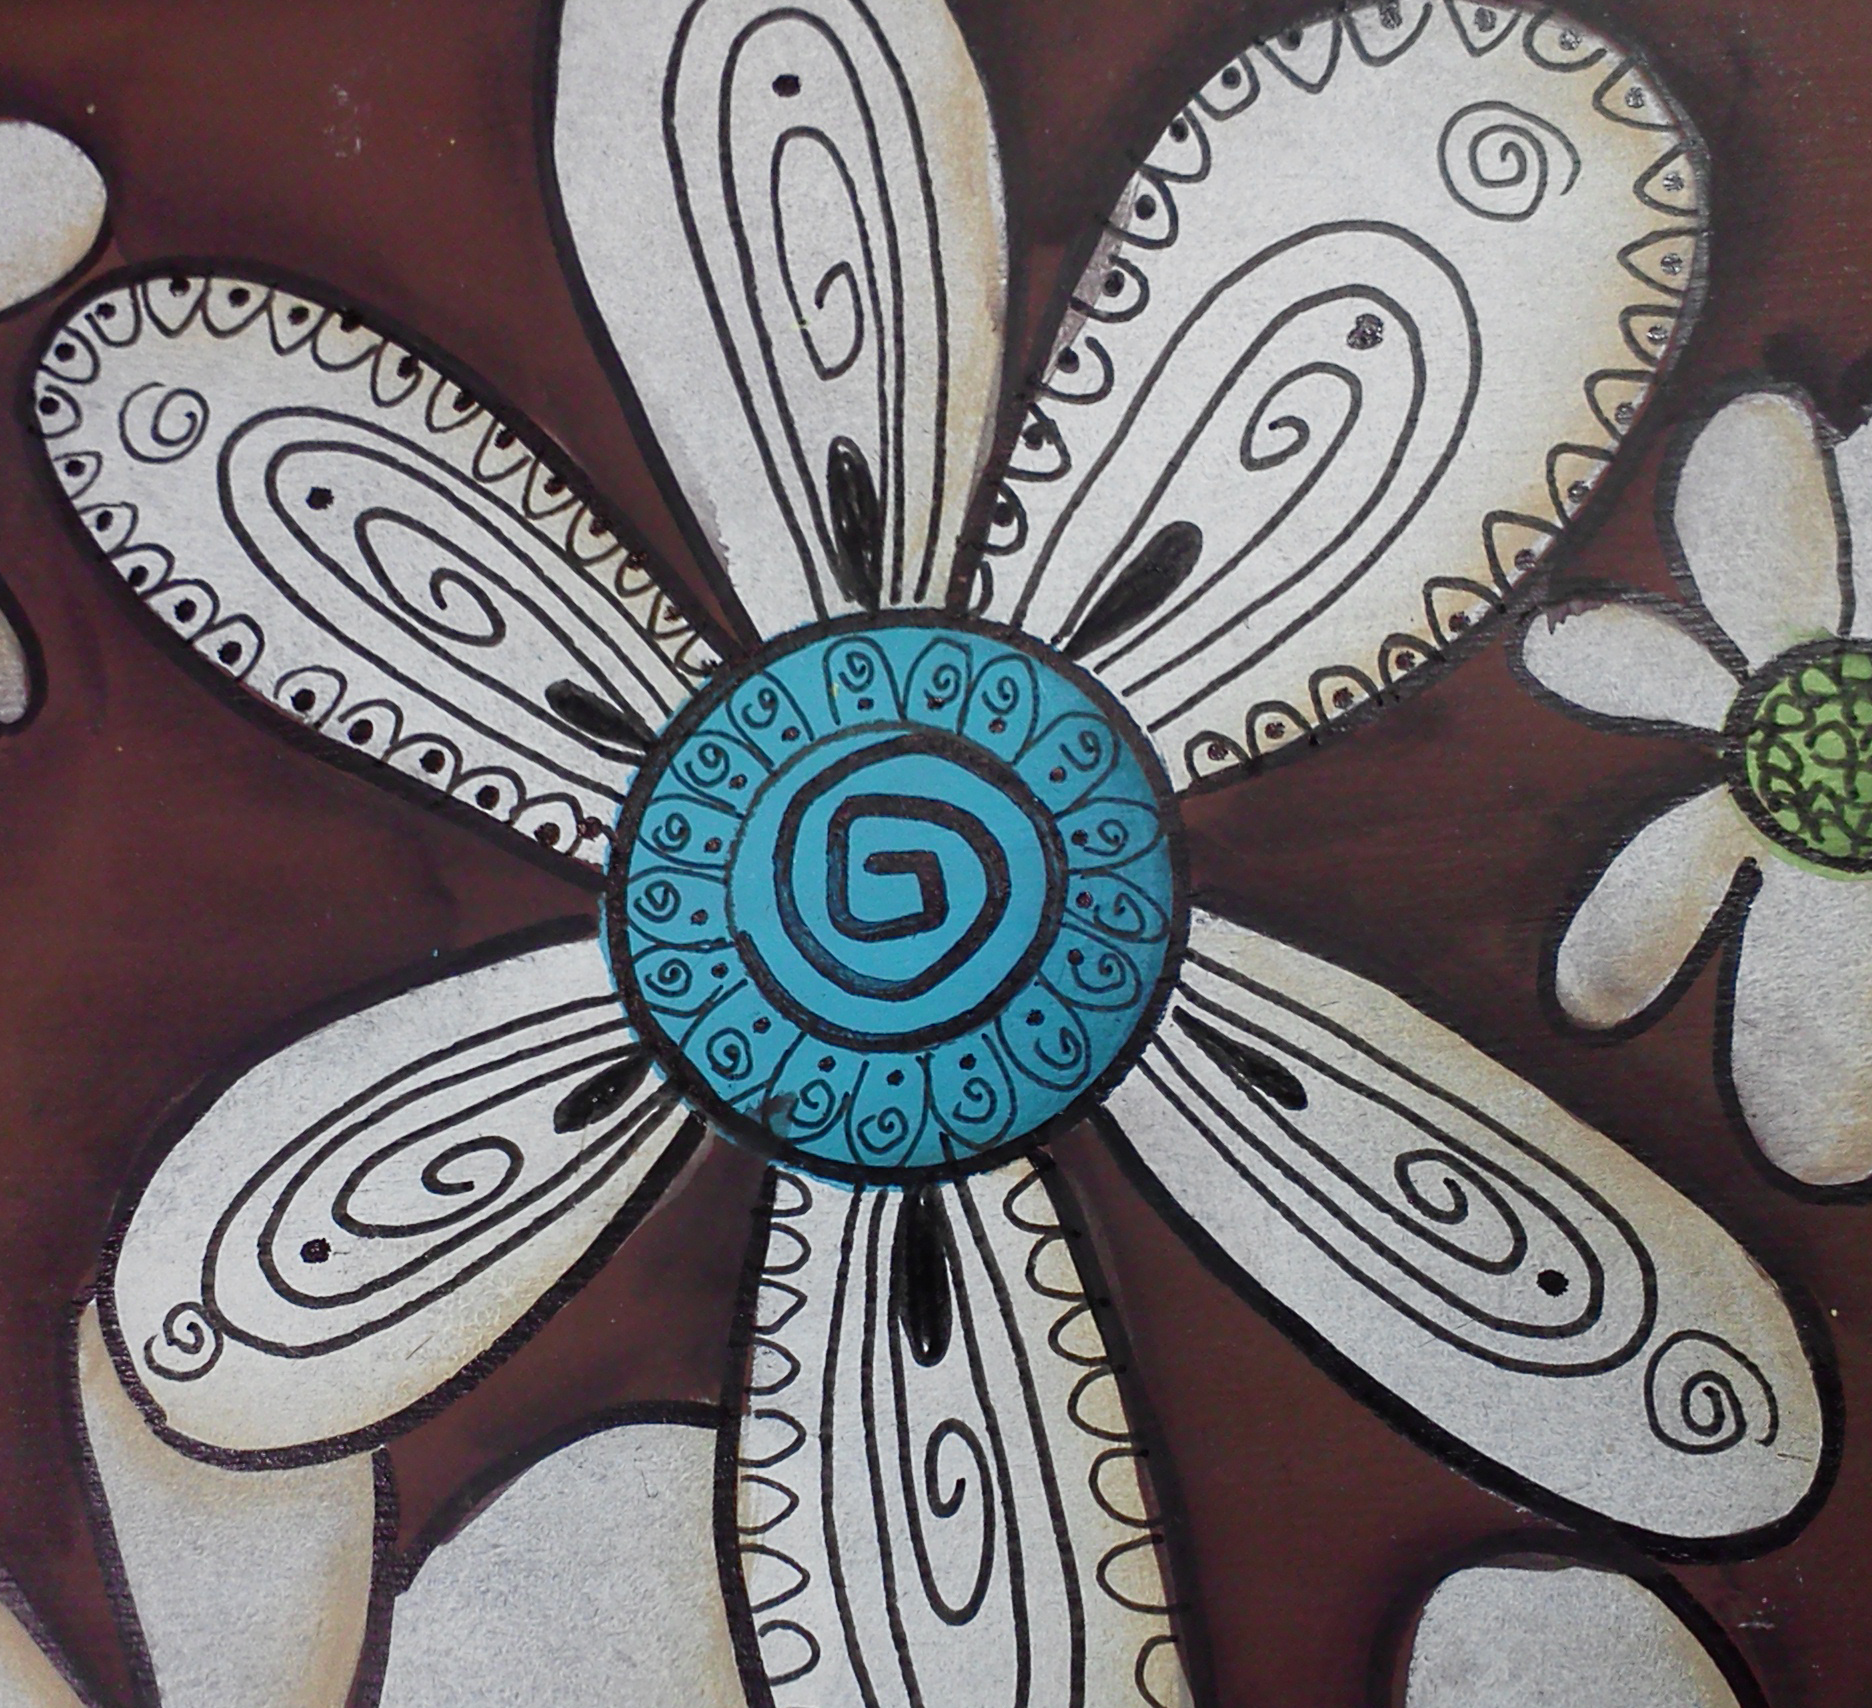
Start to add detail on petals. The petals can all match or you could mix and match.

Fill in checks with a pen or with a brush.
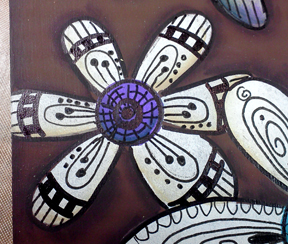
Make each flower stand out and be different.
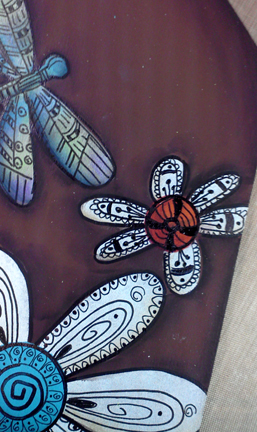
Make sure all your petals are covered with pattern.
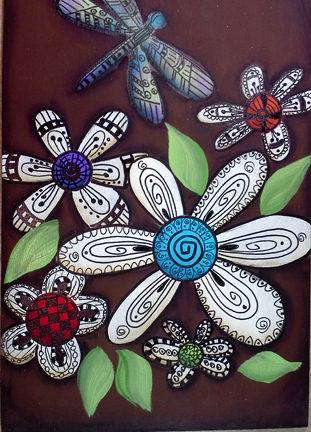
Double load Foliage Green with Hauser Medium Green to create leaves.

Outline leaves and add inner detail.

The detail on the leaves can vary.

Use a flat shader and create the checks along the bottom of the tag. Then use a stylus or brush end to add dots.
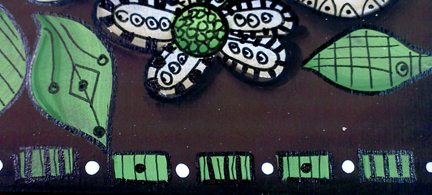
Add pattern in the checks with a pen.
You could also insert a saying or lettering on the top and bottom of the tag. There are a lot of options to choose from.
Now you can finish the tag, tie a ribbon through it and hang it or use a stand to set it up to enjoy.
Question of the Day:
What size of pen do you like to use the most? What is your favorite pen?
